
Three Key Steps to Documenting a Quilt
Quilts are historical documents that contain important information about the life and times of the maker, their family and their world. Here are three key steps that every quilt owner should take to keep their quilt’s history from fading away.
1. Label your quilt. Include, at minimum: maker’s name, date completed, location made, maker or owner’s contact information. Here is a guide for making a simple label.

Even if you only know a few details about the quilt, labeling is important. Cats can’t talk and neither can quilts!
2. Take photos of your quilt. Take an overall photo, front and back, a photo with the maker/owner standing alongside the quilt, and several details including the label. Easy instructions here for making a short Go Tell It! video to document any quilt. Example videos here.
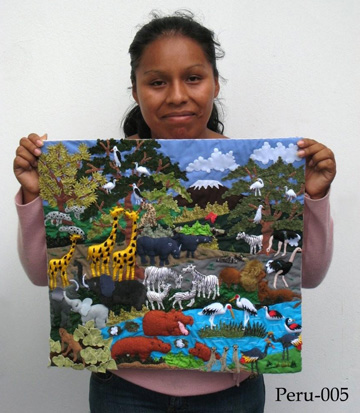
Lucy Flor Garcia of Peru, interviewed for QSOS in 2008, shown with her quilt Noah’s Ark.
3. Write down your quilt’s story. Include, at minimum, the information you wrote on the label. Add additional physical details (size, fiber content, materials, care…), history of the maker, purpose of the quilt, influence or inspiration.
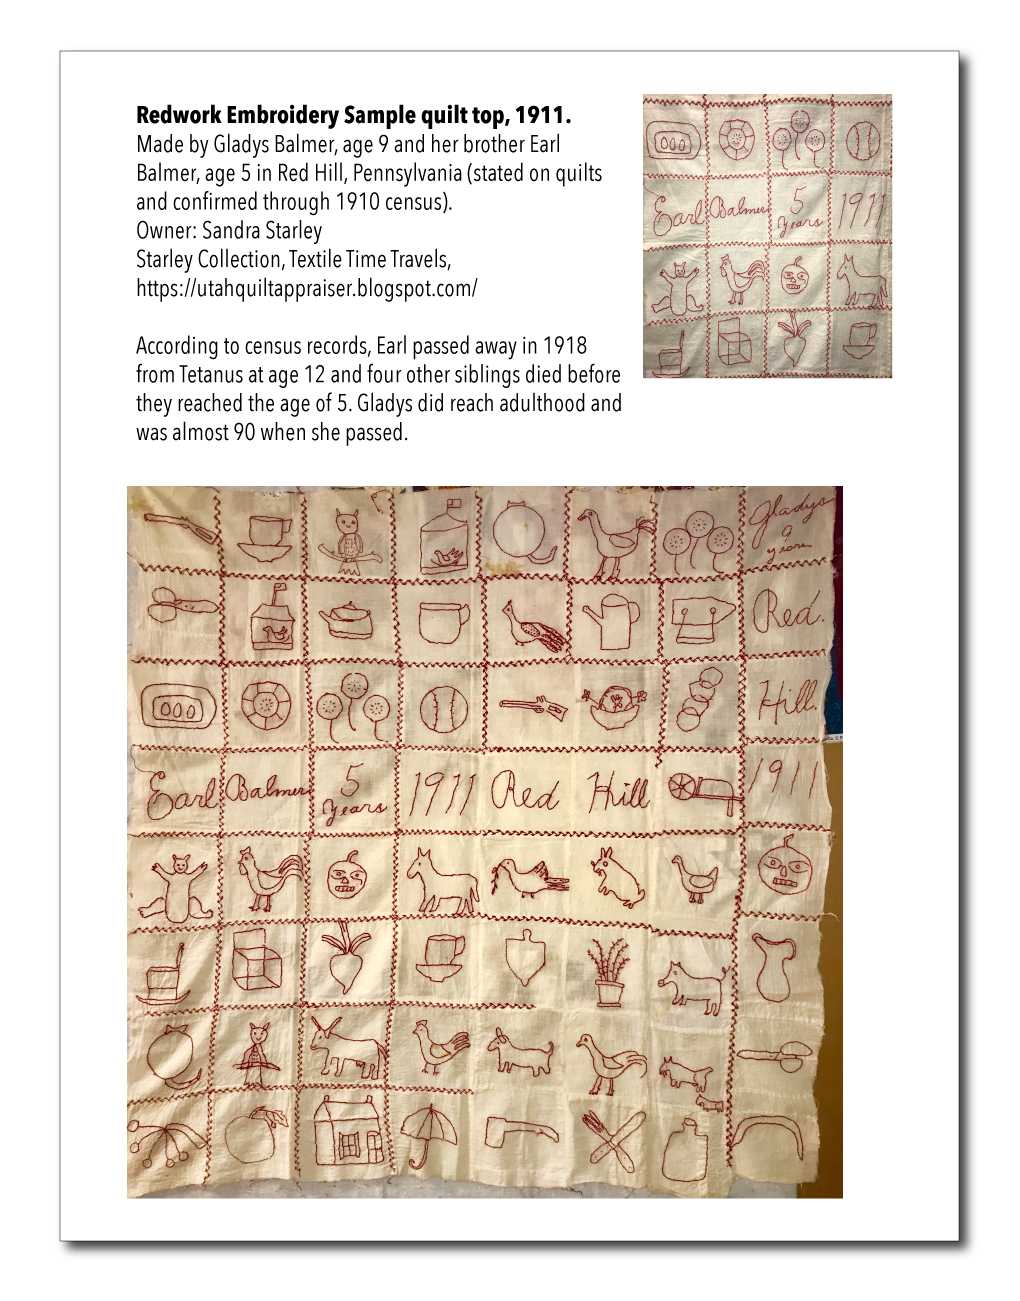
Example of a documentation sheet. Quilt courtesy of Sandra Starley, Starley Collection, Textile Time Travels.