Label it Already!

Most quilters have heard the message about quilt labeling. Adding a label to your quilt that includes, at minimum, your name, and when and where the quilt was made, is one way to ensure that its history will remain known and preserved. However, according to the 2016 Handi Quilter Quilters’ Survey only 57% of the 24,185 respondents say they label their quilts consistently, even though 94% of this group said they believe it is important to document and preserve the history of quilts and quiltmakers. What gives?
During our Quilt Story Road Show lectures we always ask the audience: “How many of you label the quilts that you make?” A typical response mirrors the figure from the survey–a little over half the room raises their hand. When we ask a follow up question: “How many of you label the quilts that you own, but did not make?” the room gets quiet and there is mostly blinking and nodding. So, we continue our crusade to change the documentation habits of quilt makers and owners until our vision of No More Anonymous Quiltmakers is realized. (There’s even a t-shirt for this campaign now–buy yours in the QA web shop).
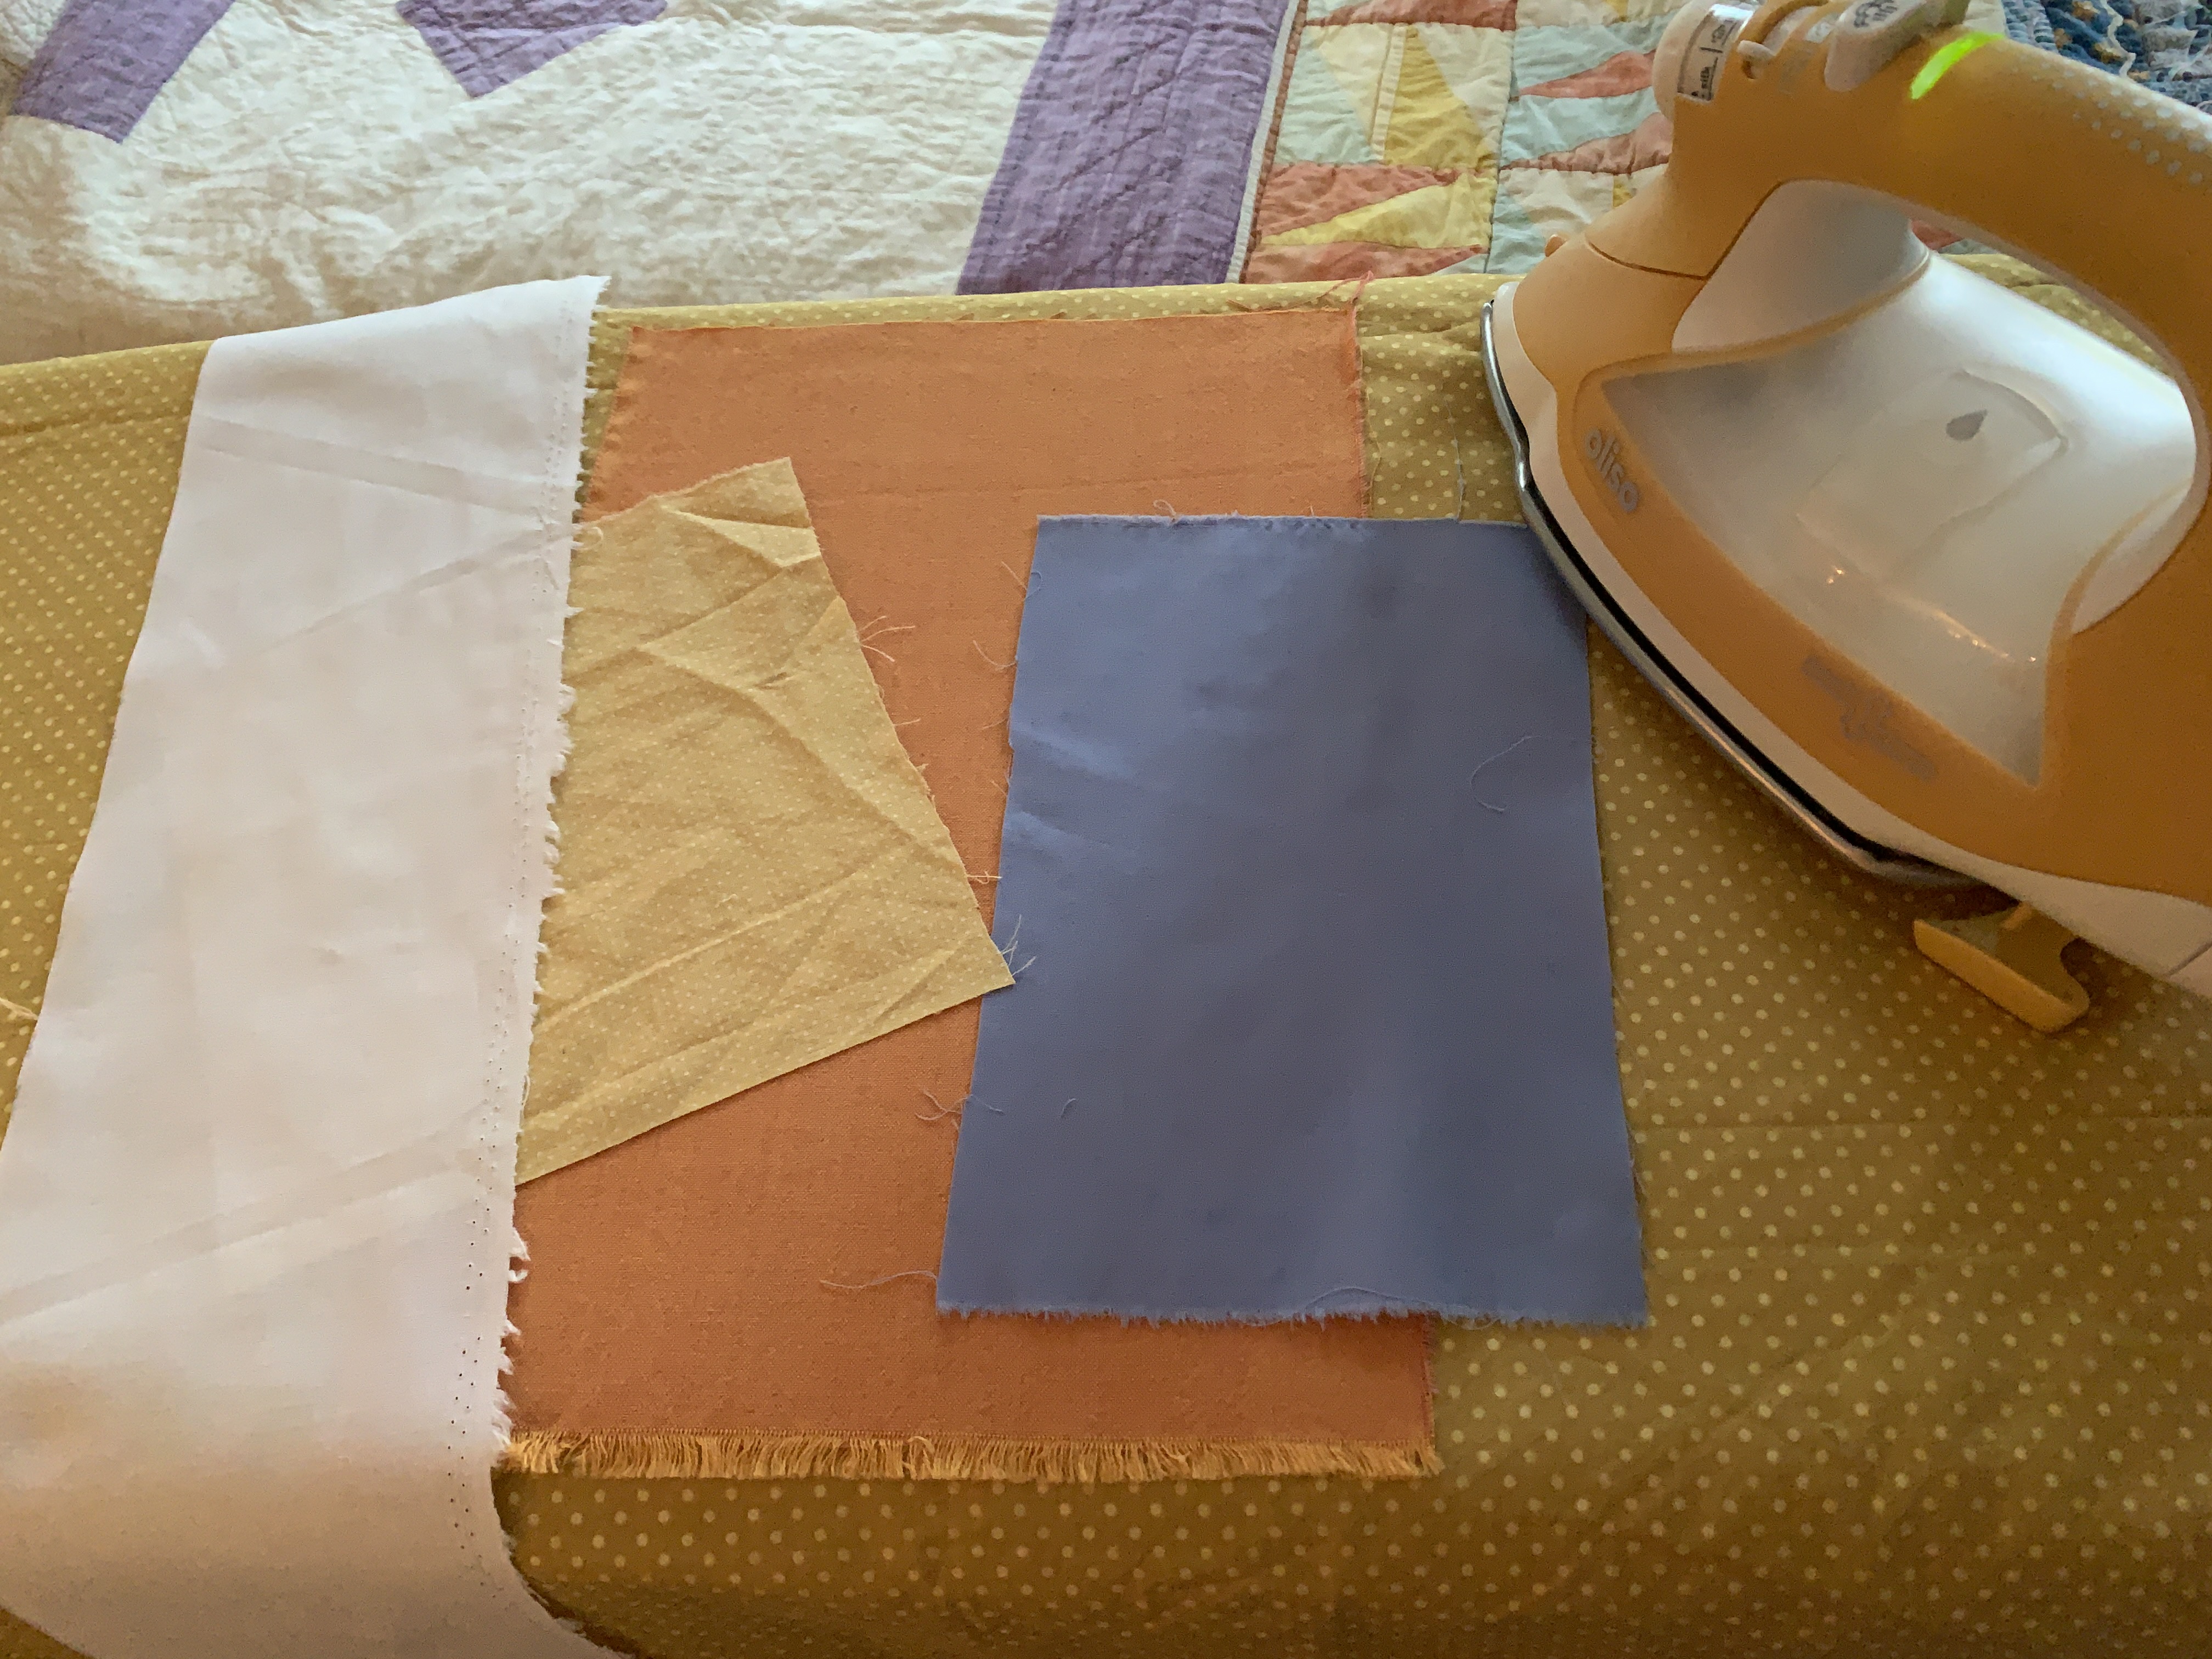
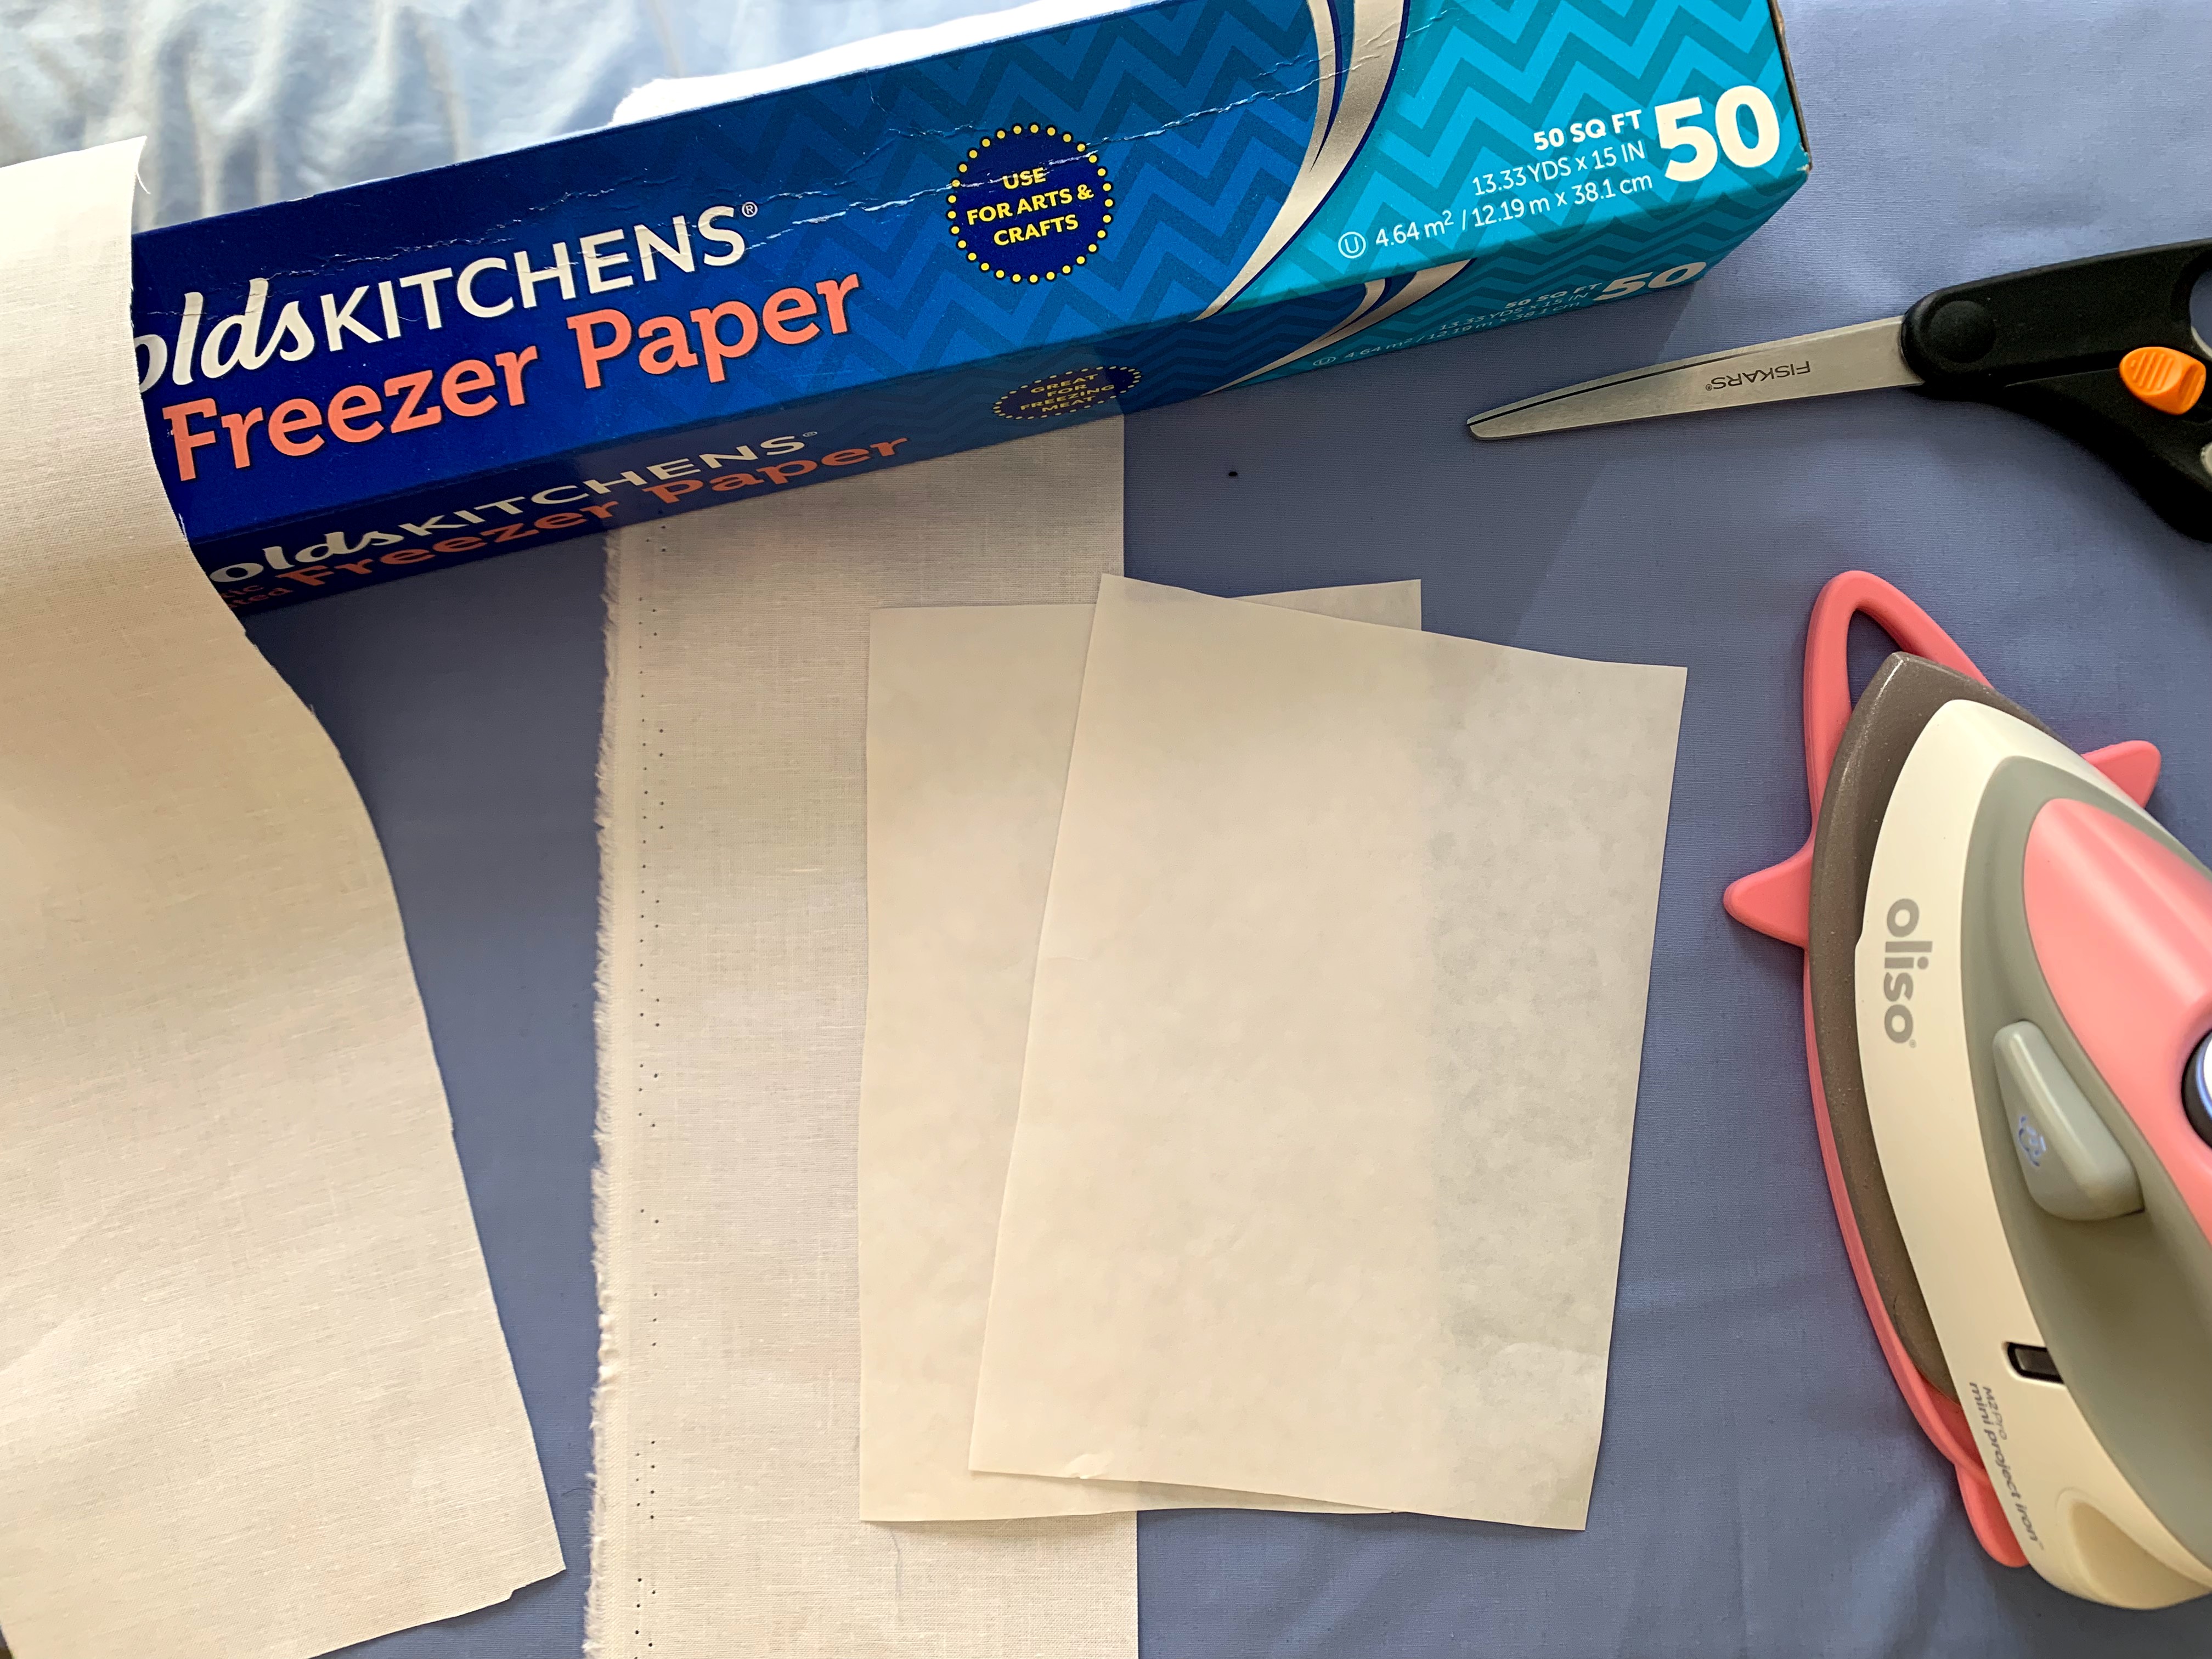
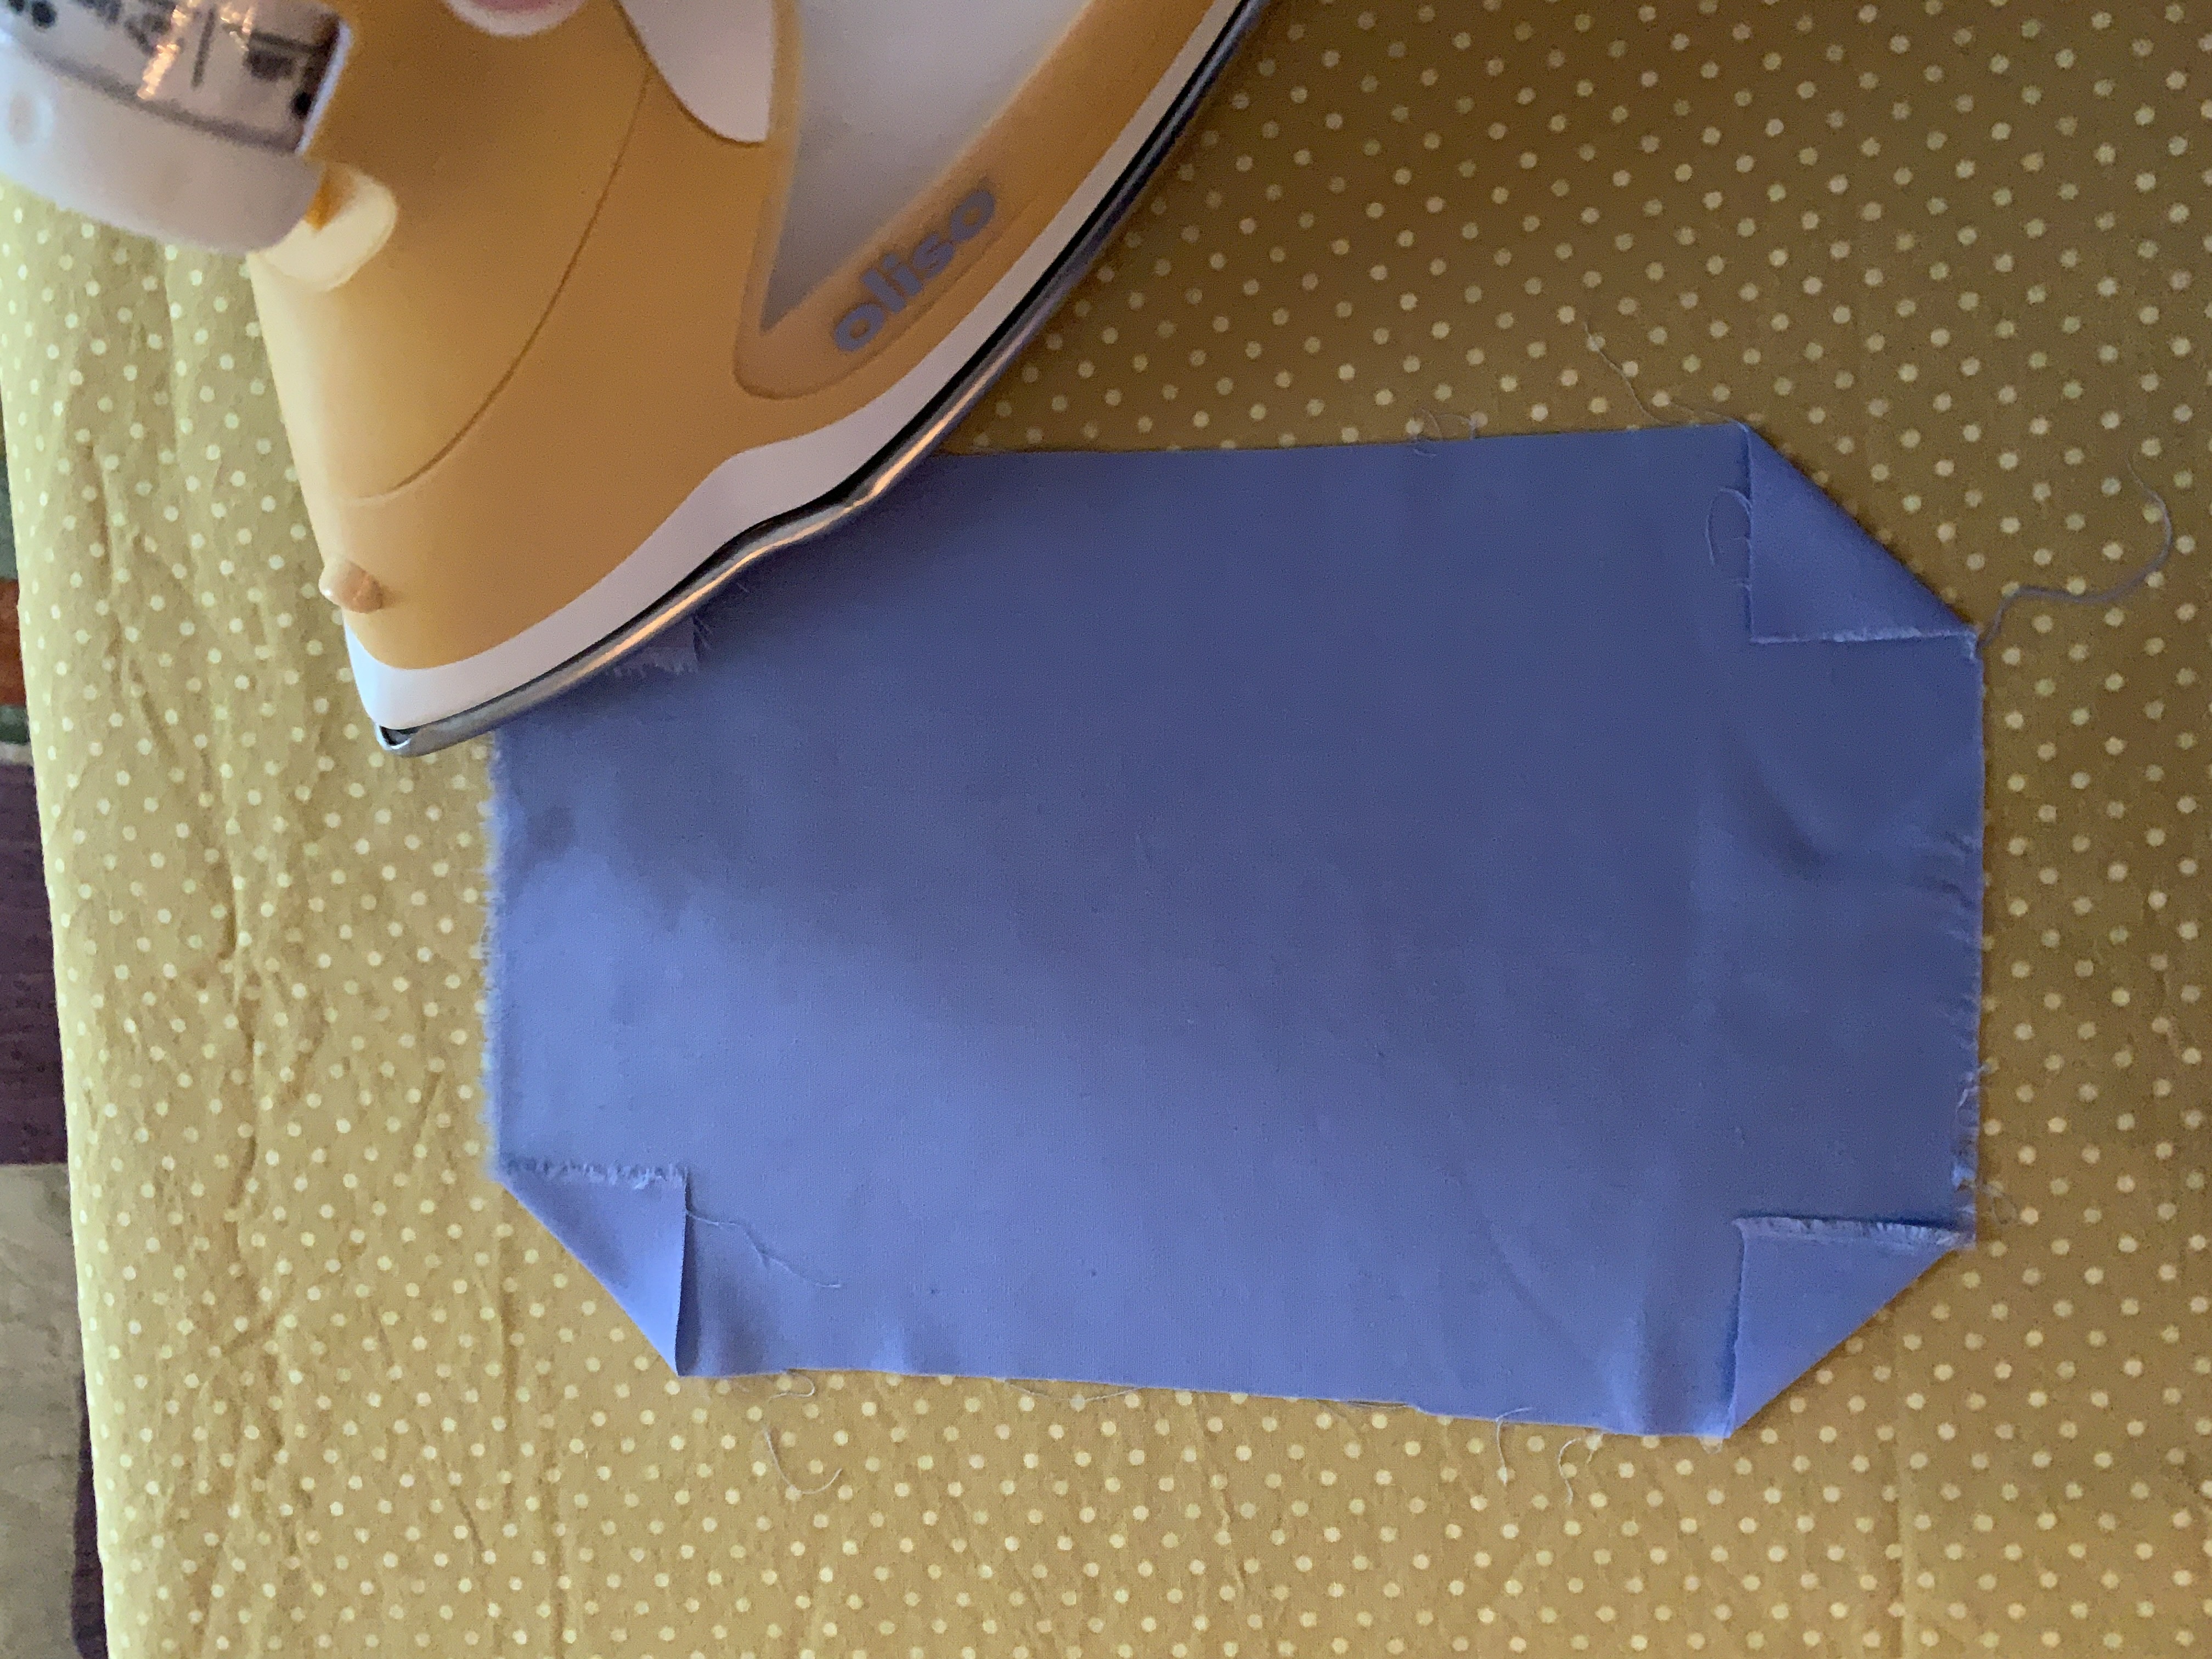
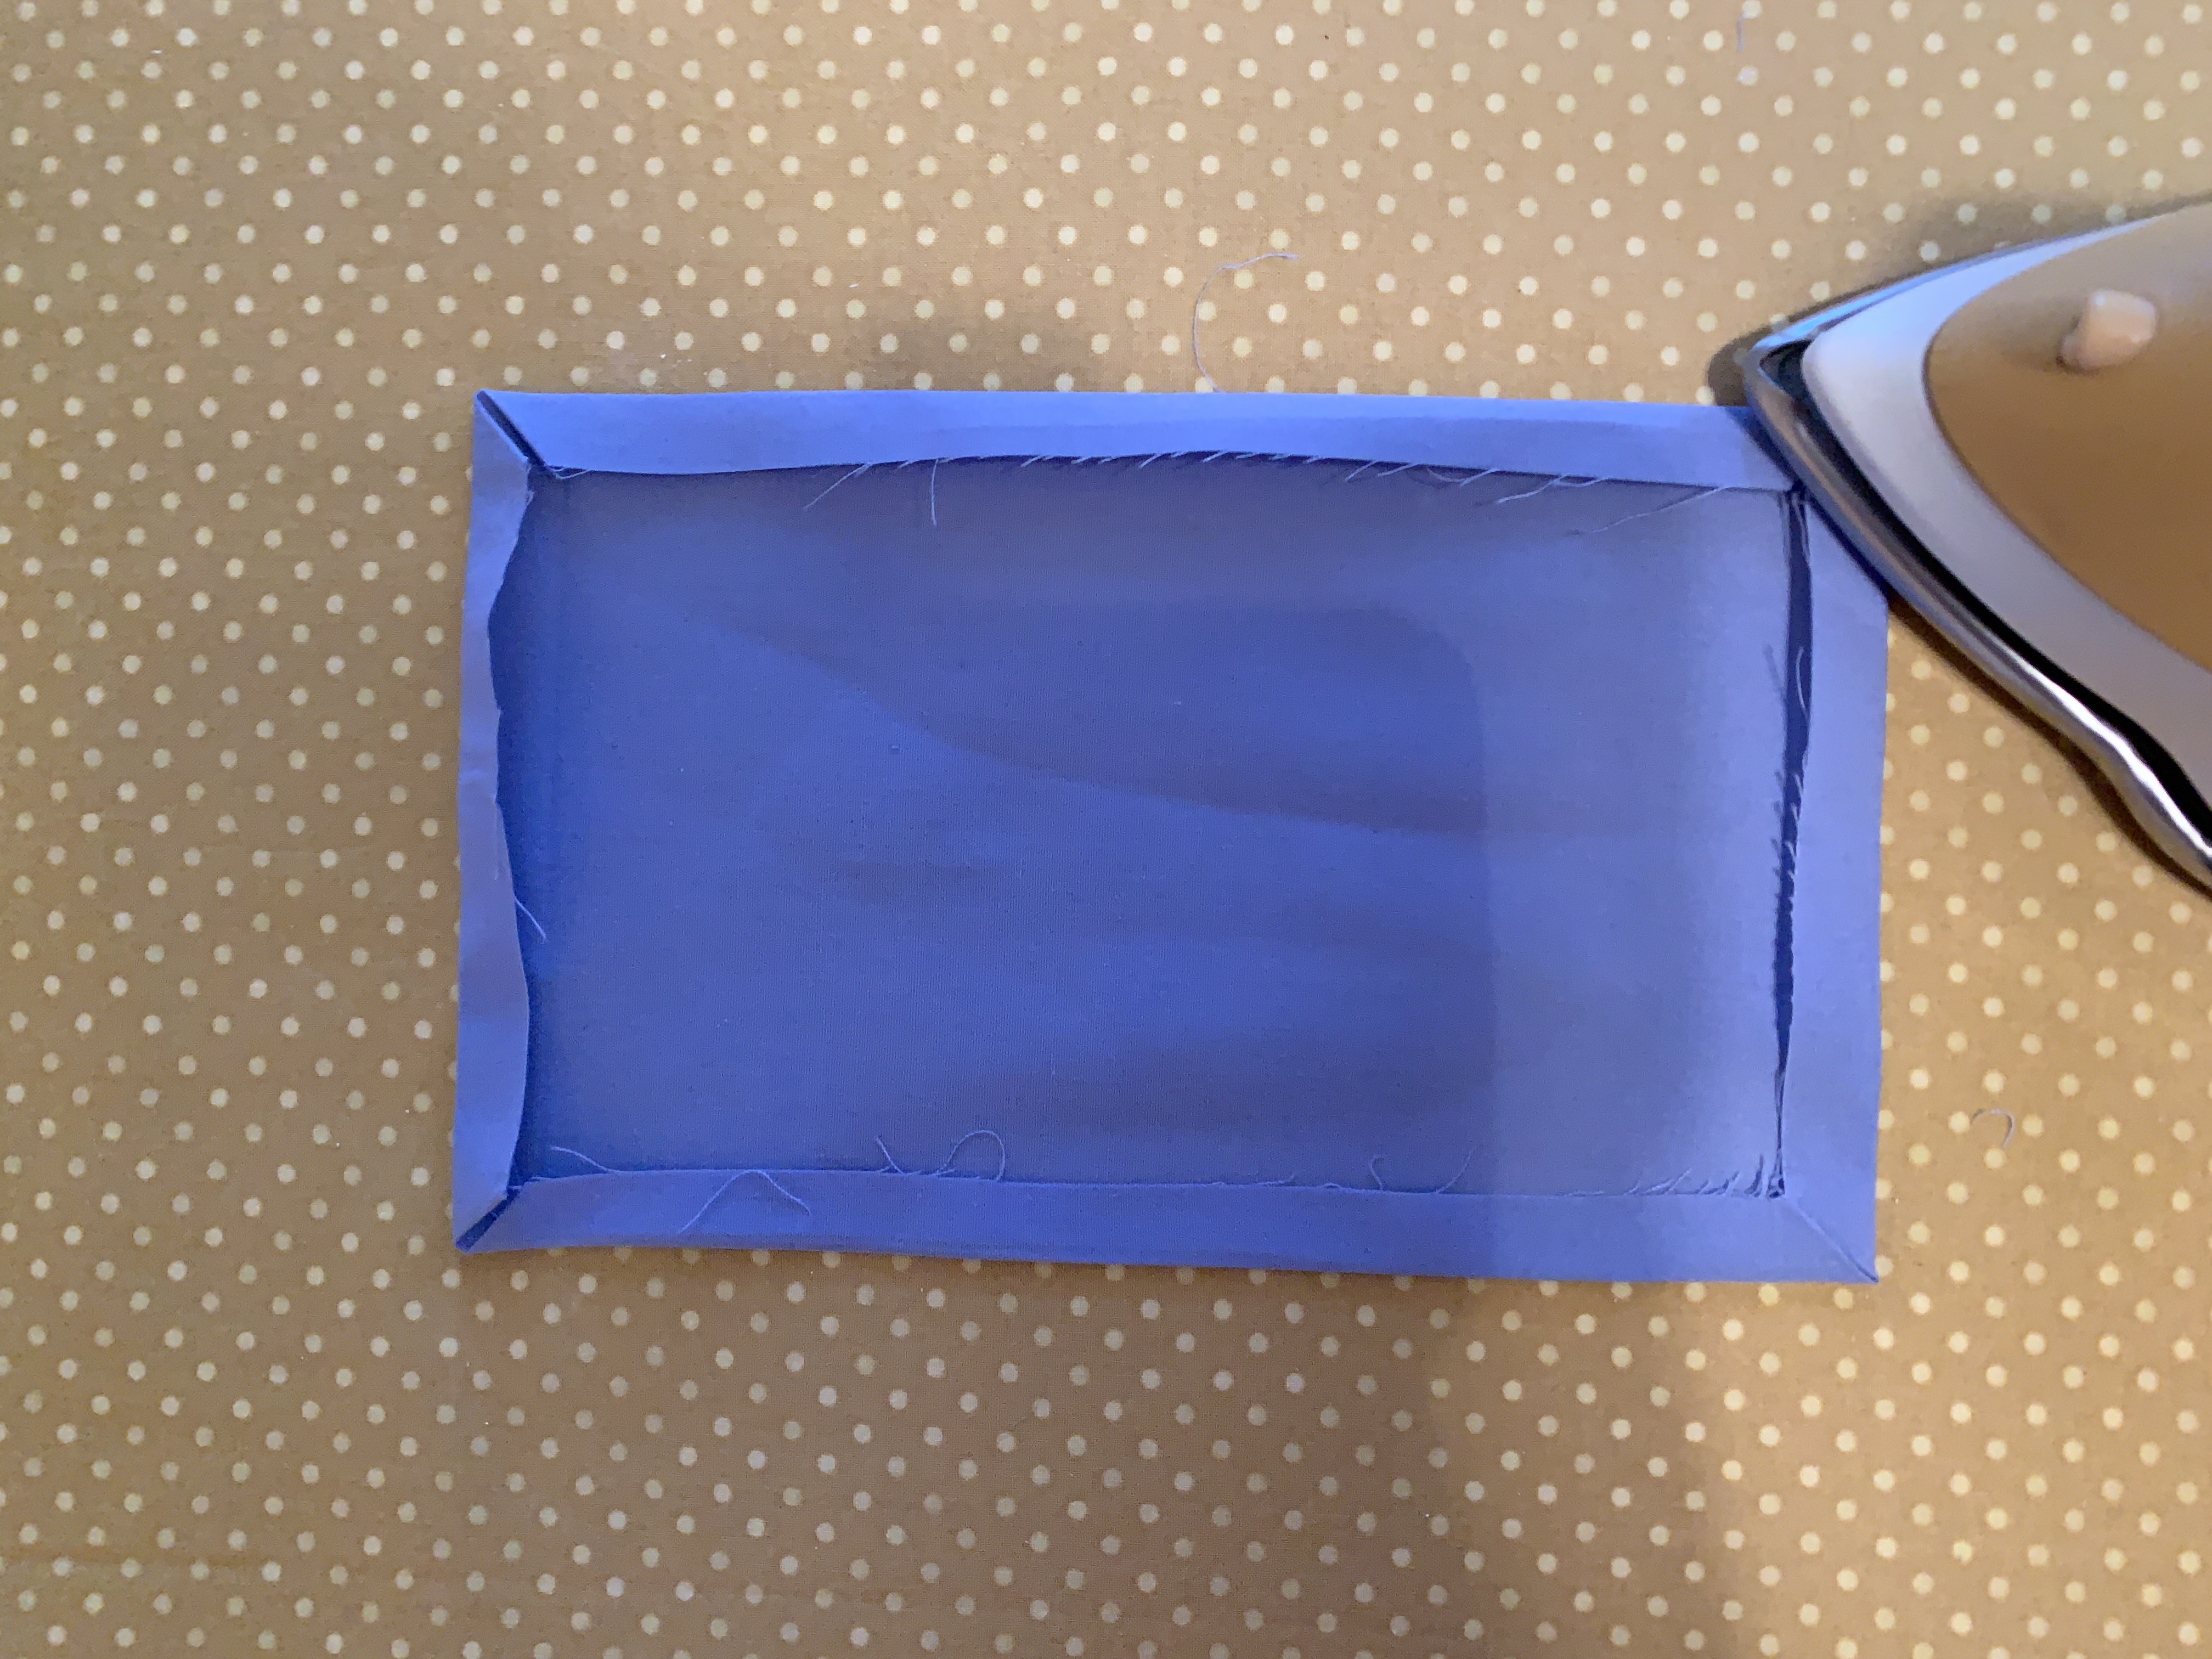
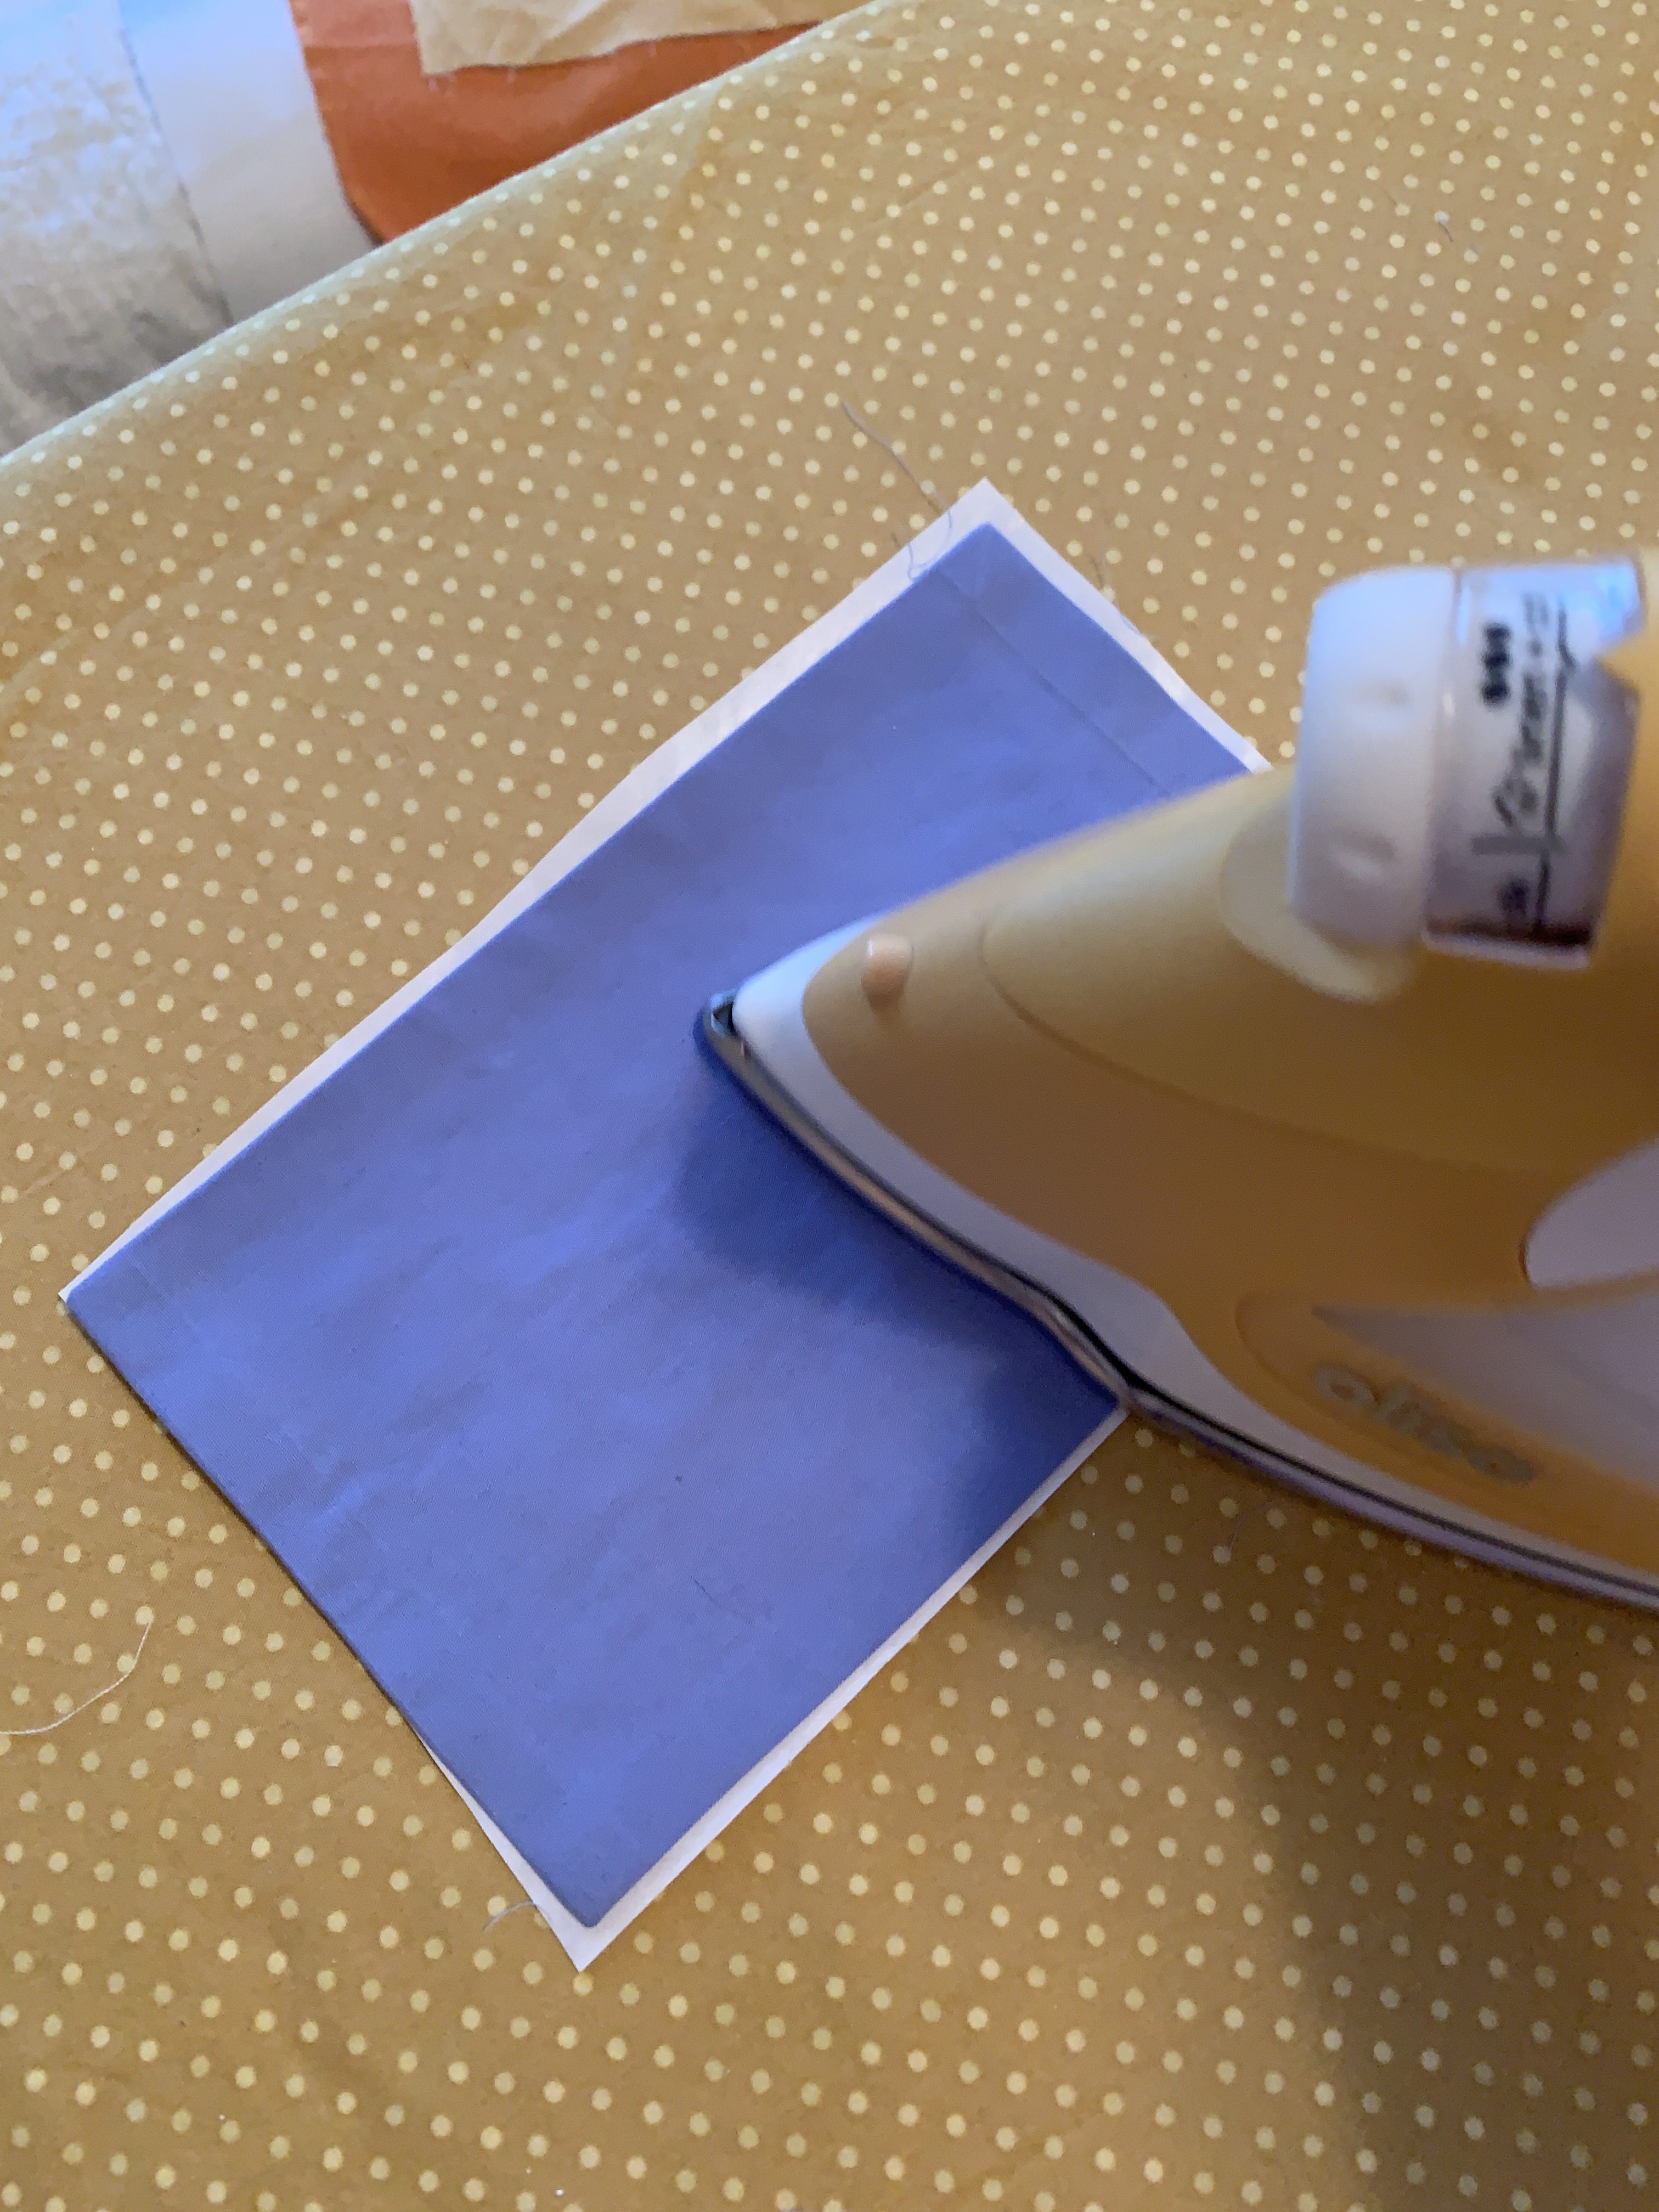
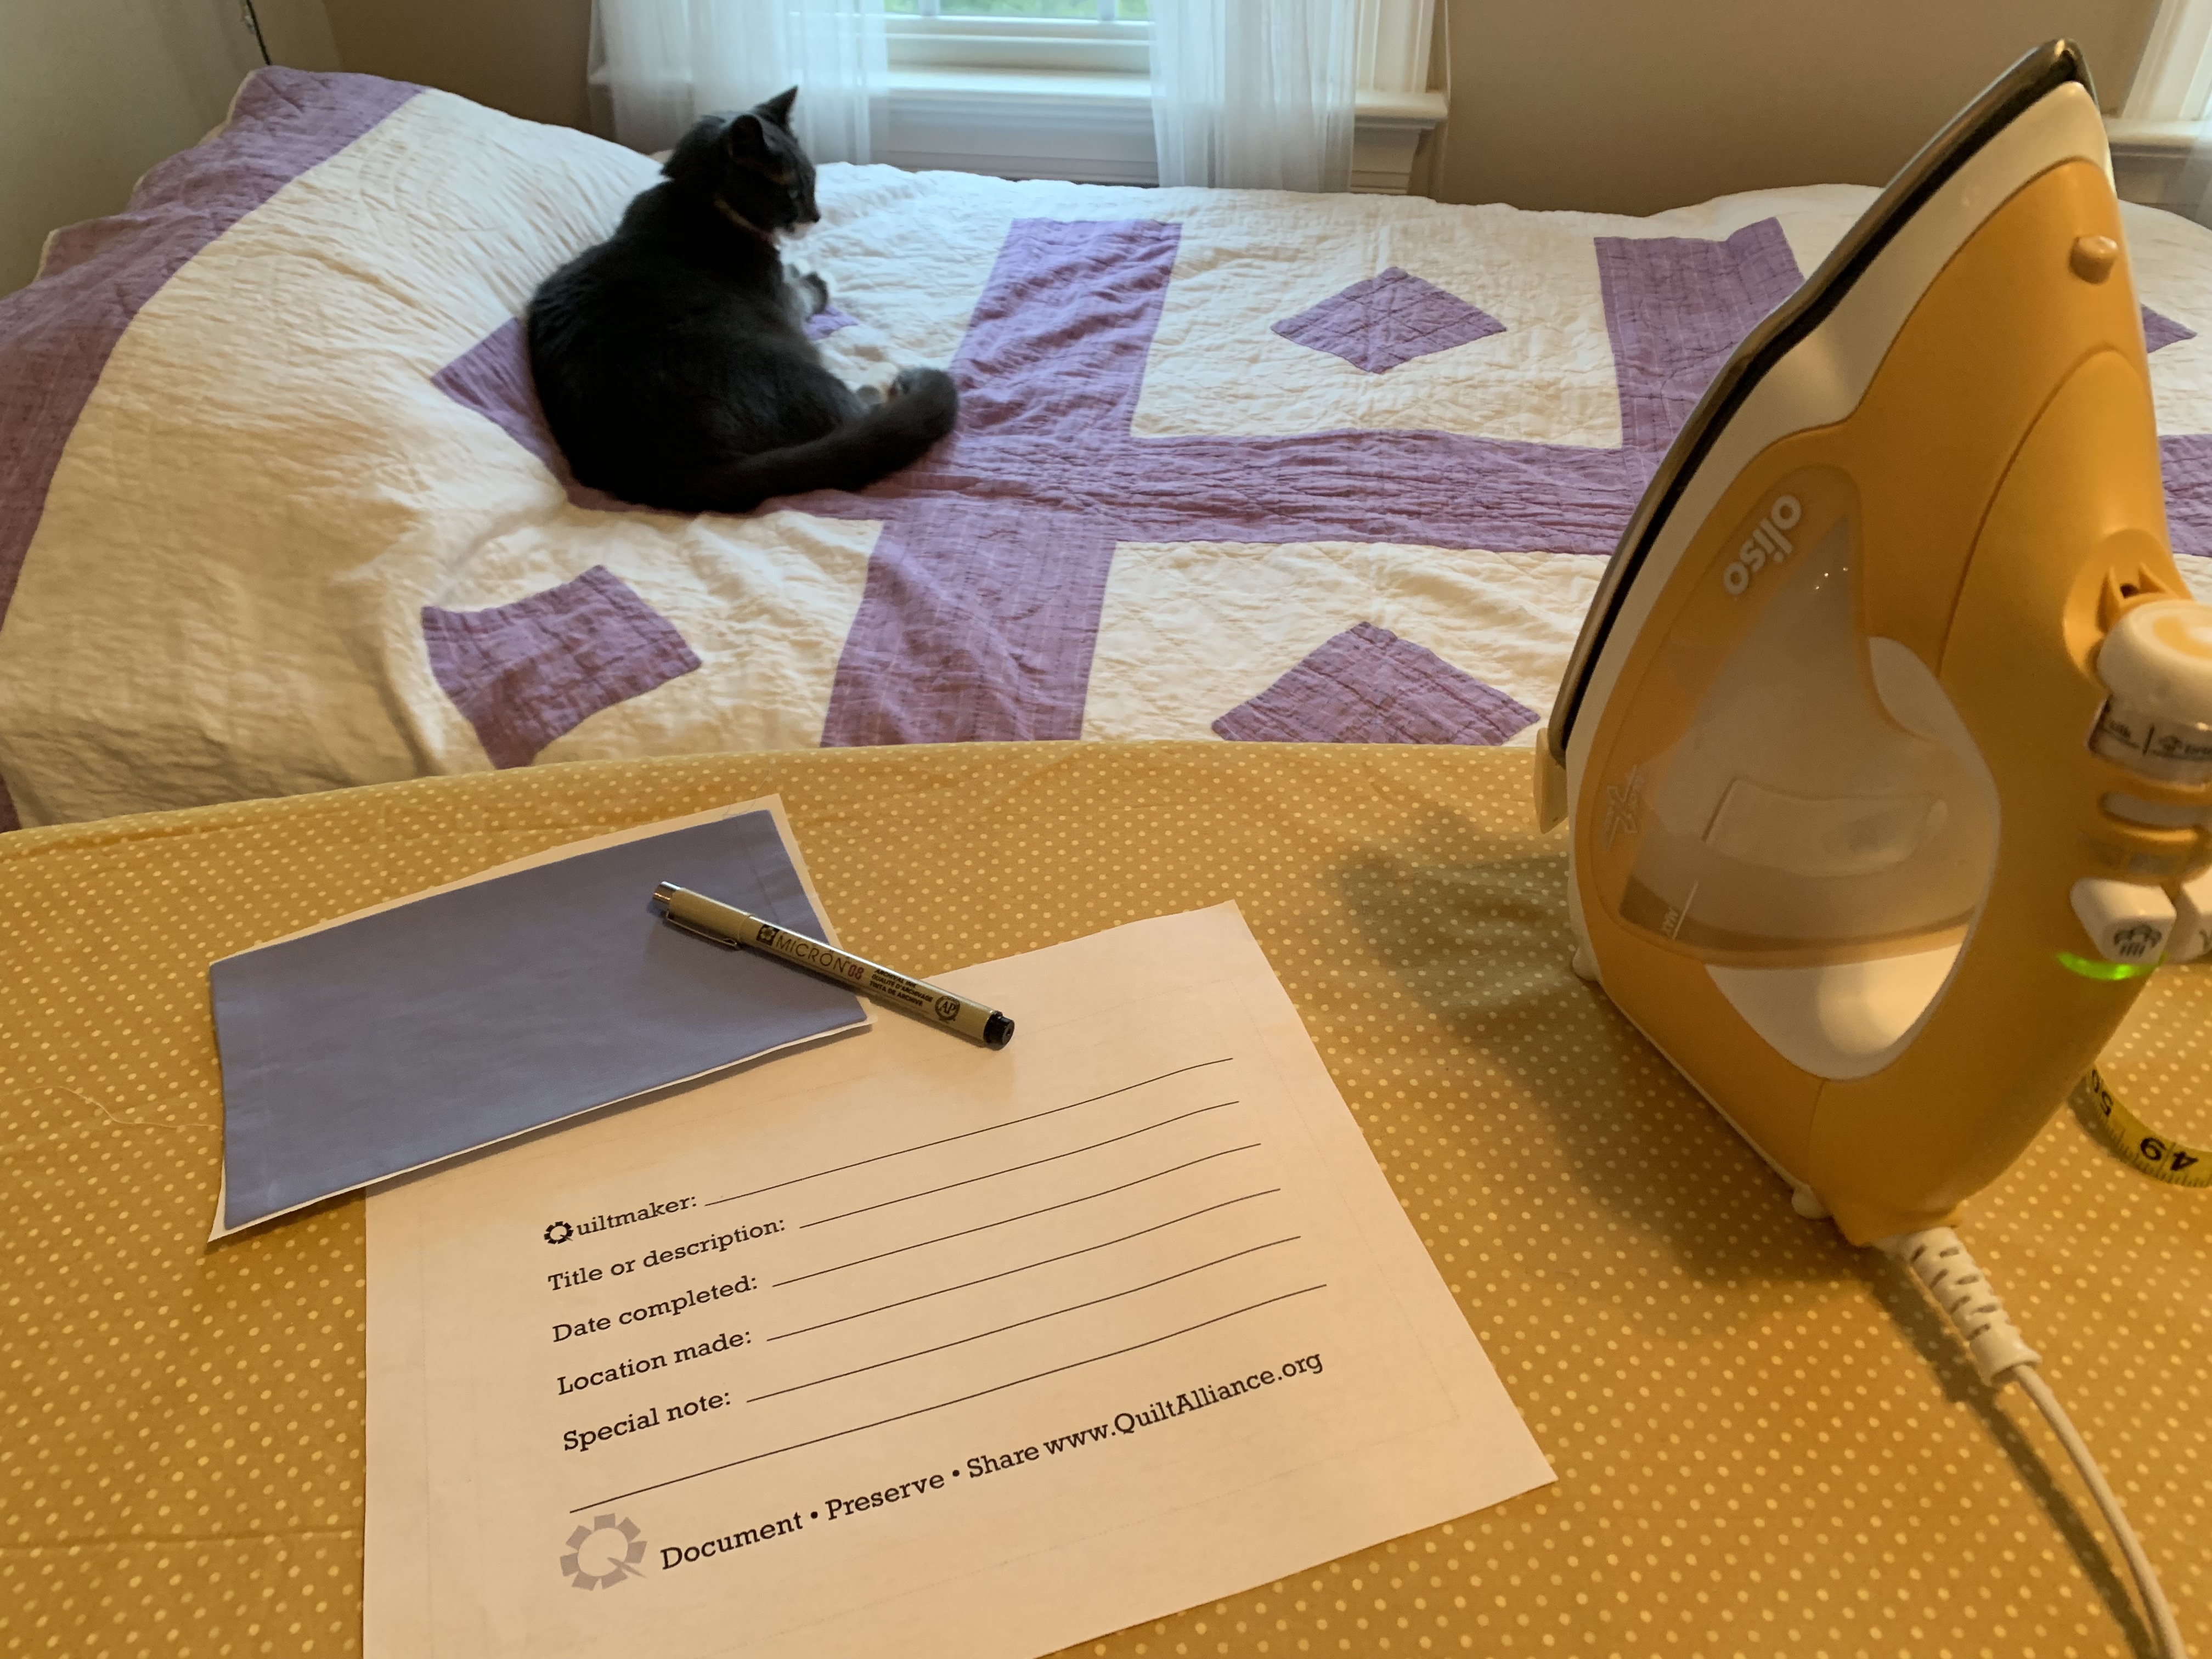
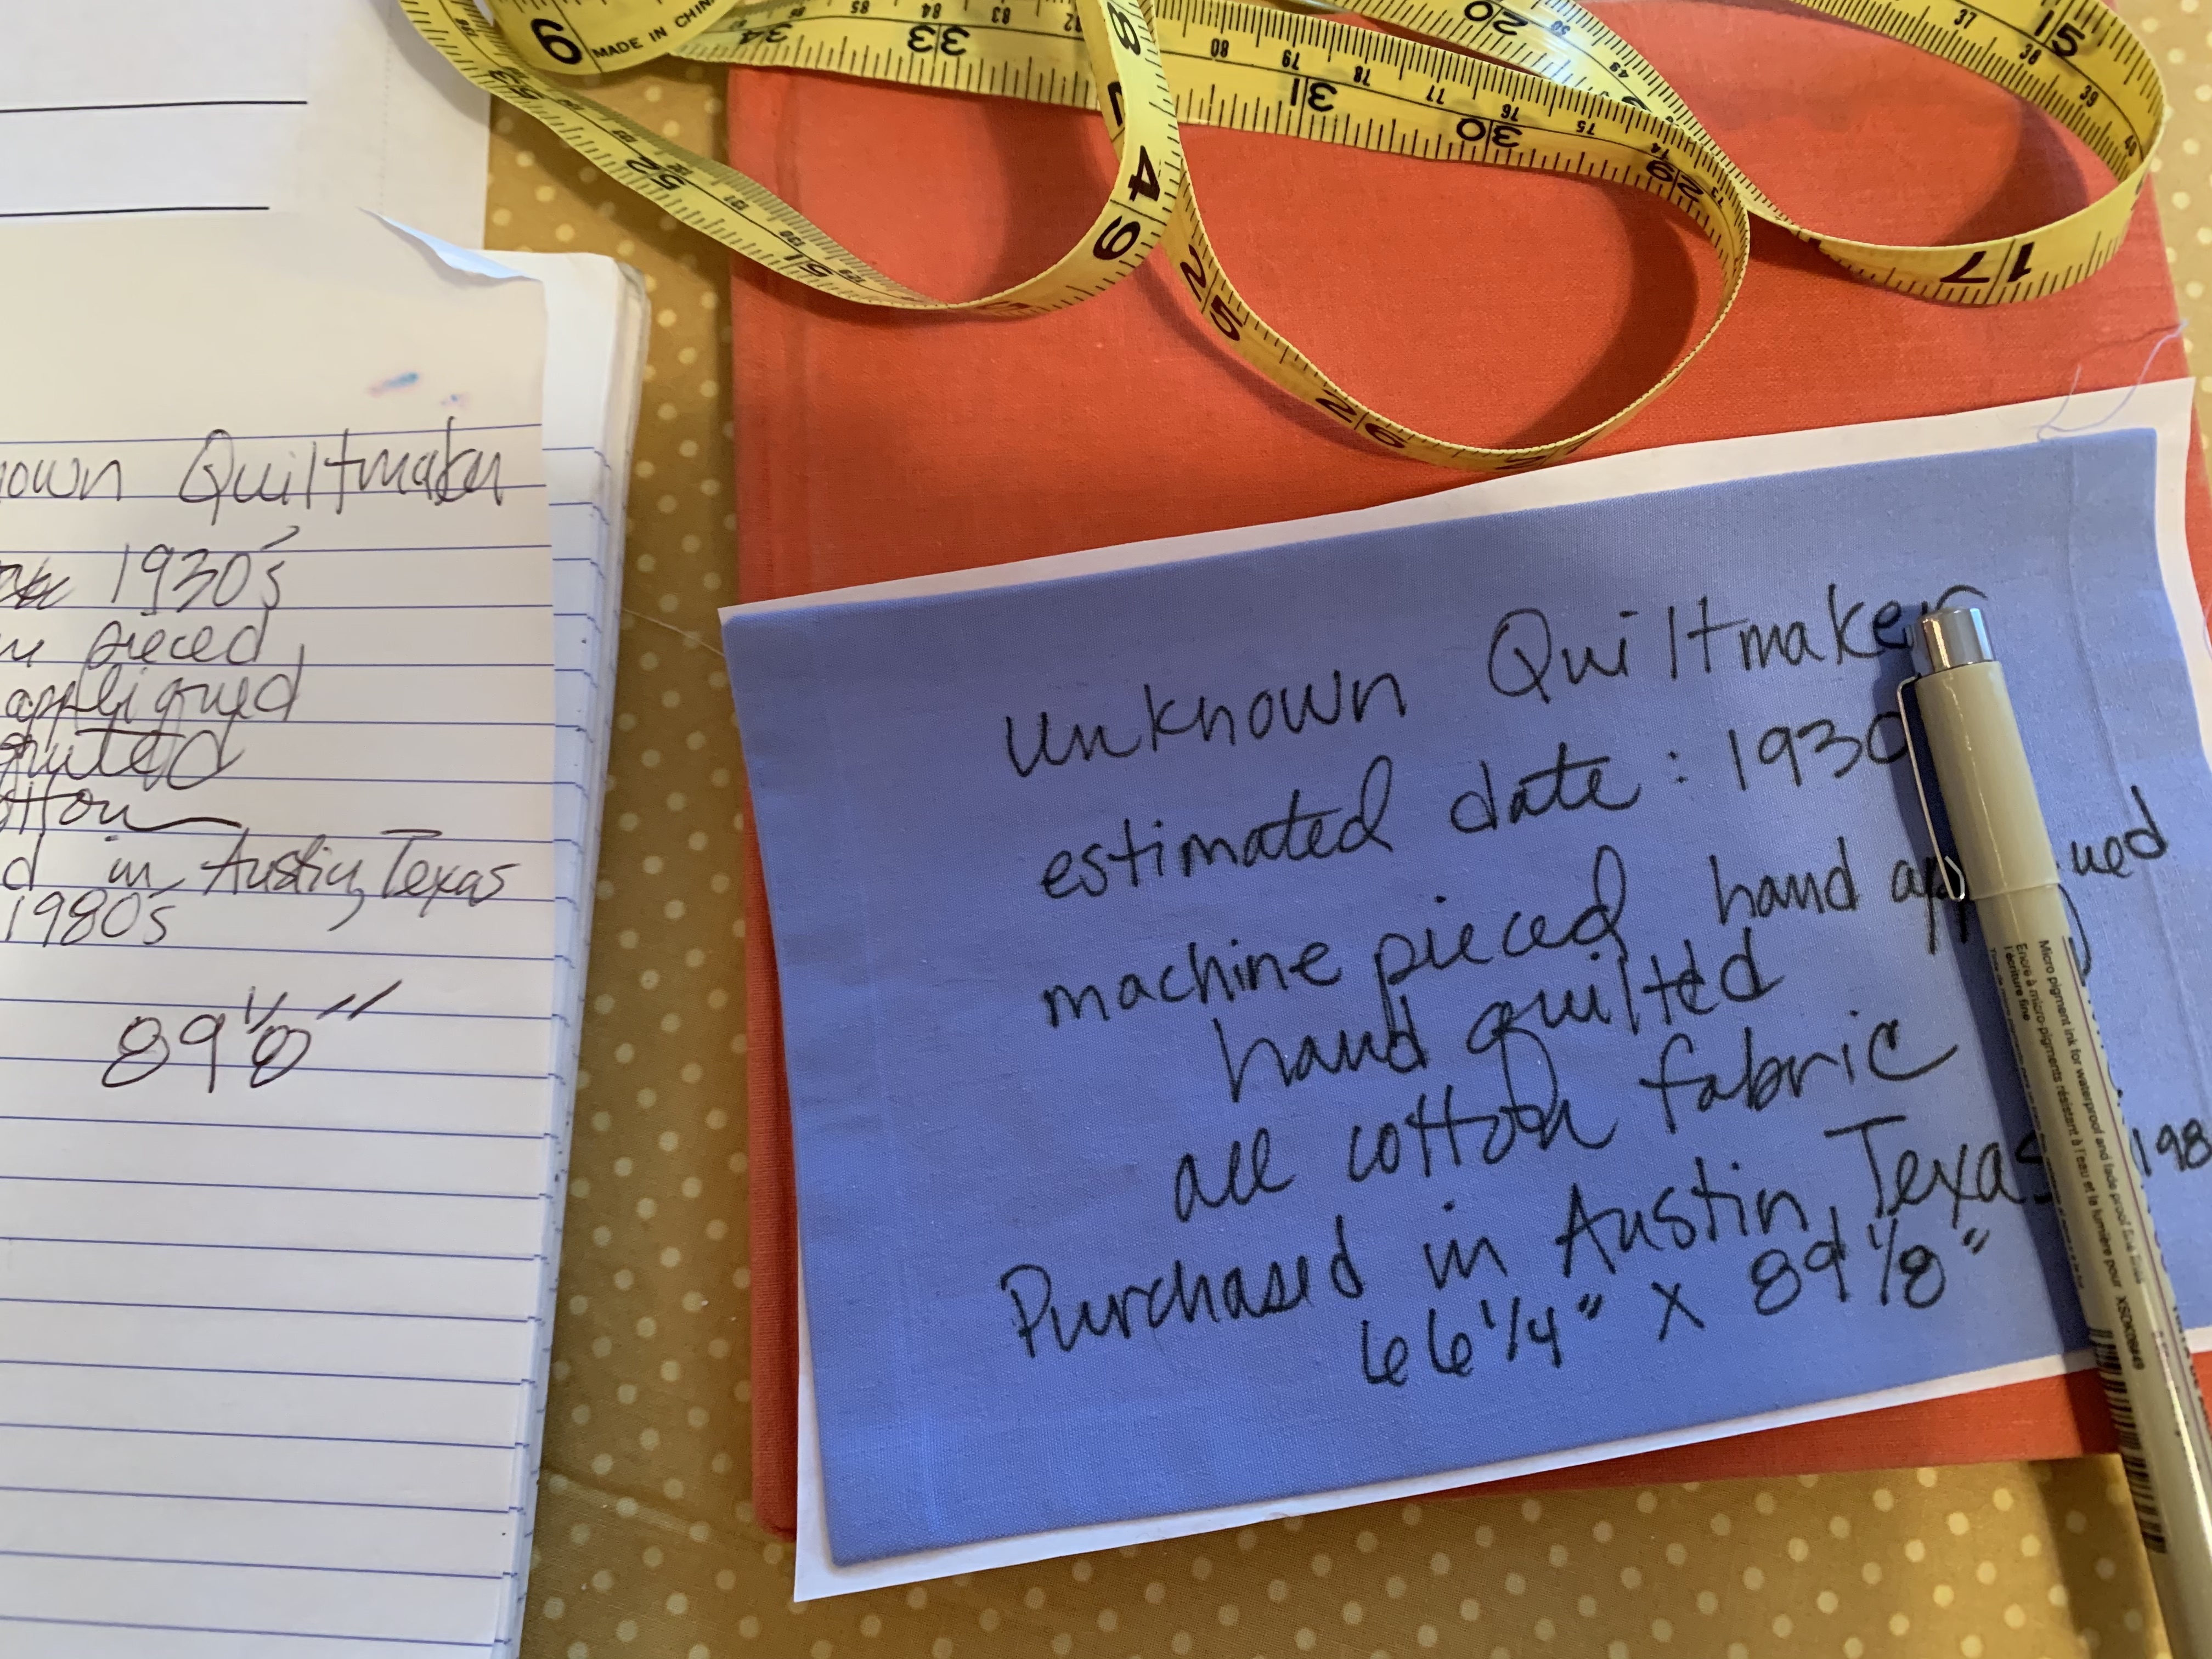
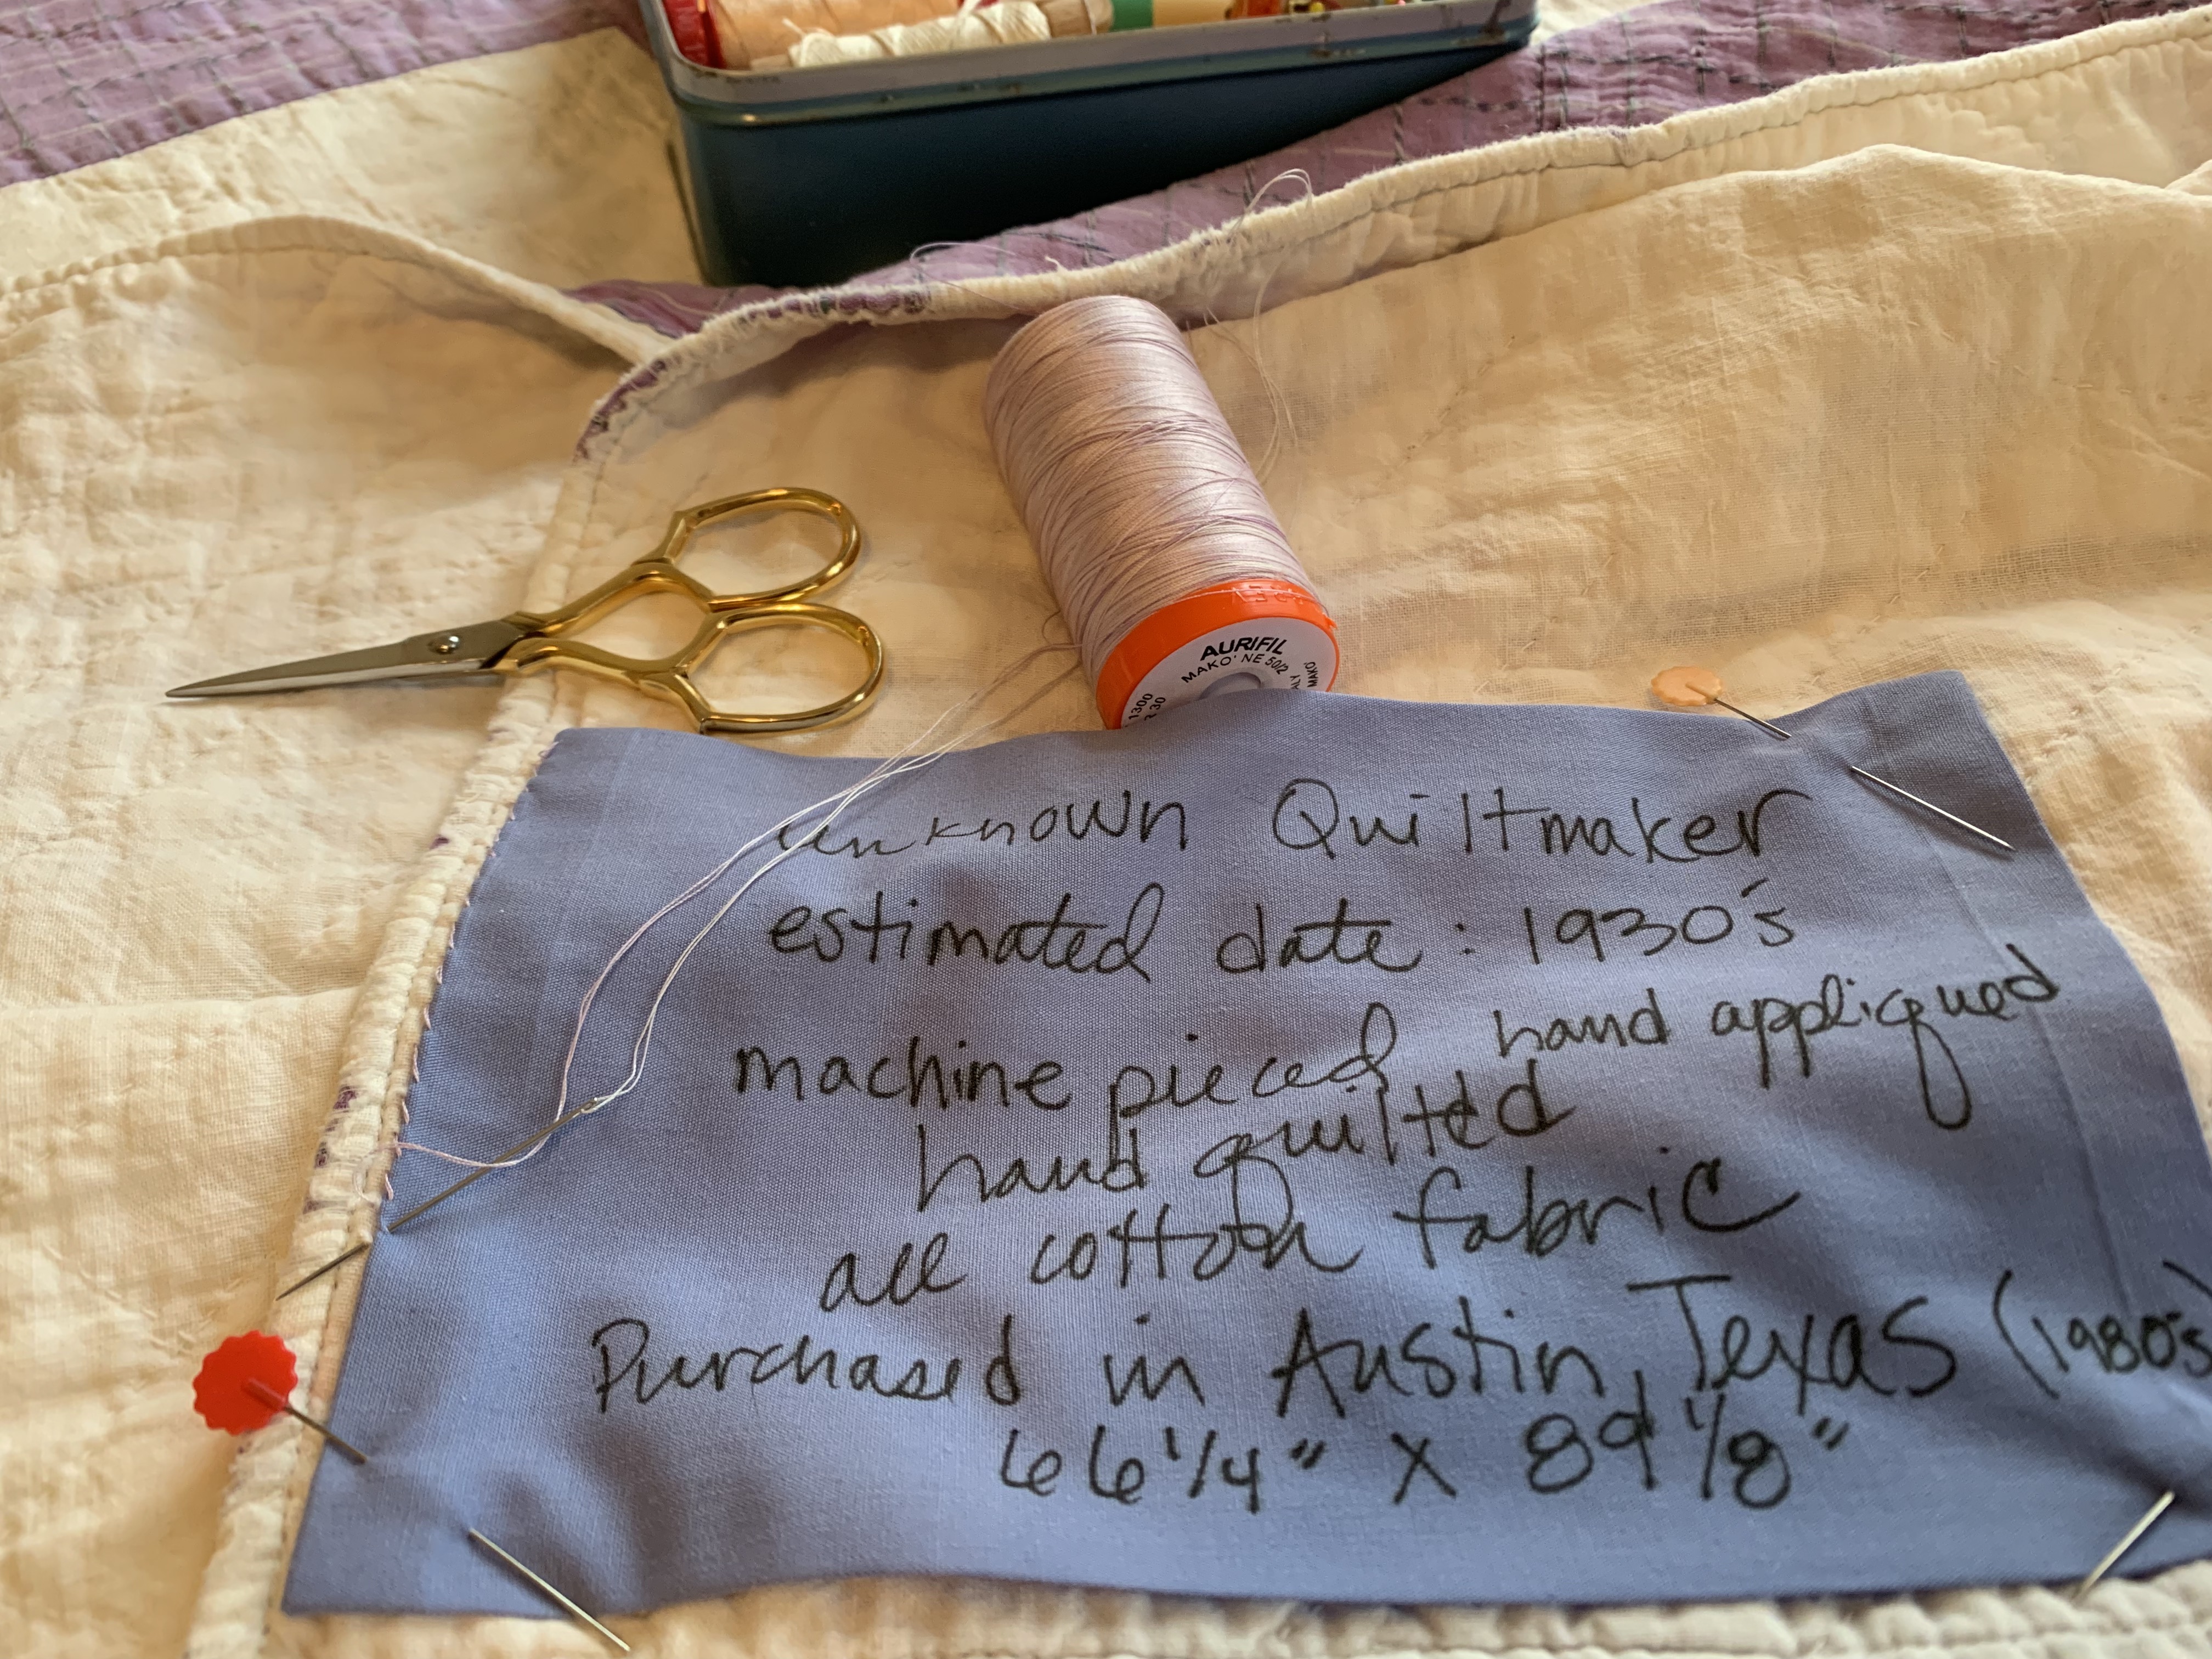
 Let’s go over a simple method for making a quilt label. In the past, the Quilt Alliance has offered samples of pre-printed quilt labels (example below) as giveaways at lectures and quilt shows. The labels are small, all-cotton fabric printed with fields for the most basic information. You can buy all manner of pre-printed labels. Some are pre-cut, some are printed on yardage, and if you don’t like the choices you can buy fabric that goes in your printer to create your own custom labels. The goal of this post is to leave you with no excuse not to make a simple label and sew it on. Here are the materials and the steps, now label it already! The two irons featured in this demo are made by Oliso,          Here are the options and steps: Click arrow in top right to view slides.

Pick the Fabric

Any natural-fiber fabric that is smooth enough and light enough to write on is perfect for a label. This is a great way to use up your scraps.

Back the Label

It’s a lot easier to write on your fabric label when you back it with freezer paper temporarily. Some people also use a fine-grain sandpaper- anything to keep your fabric stable while you are inking in the details. I like to prep a bunch of labels as once–and long strips are great for this. (These came from the fabric panels for our KidsQuilt Kits).

Iron on the freezer paper.

Place the shiny side of the freezer paper towards the fabric and press using an iron set to medium heat. At this point, use an archival pen to write out your details, then sew it onto your quilt using a simple whip stitch. If you’d like to make your label look neater and avoid frayed edges–continue to the next slide.

Turn under the edges.

To turn down the edges on the label before sewing, start with the wrong side of the fabric facing up. Fold in and press each corner as shown.

Fold in each side and press.

Create mitered corners by folding in the length of each side by about 1/4′. Press.

Add freezer paper.

Turn the label over so right side is facing up. Cut a piece of freezer paper to fit the label and iron it to the label with the shiny side of the paper facing the back of the label.

Plan the label.

Use a scrap sheet of paper to draft your label. Include any bit of information that you know–maker, date, location, purpose, recipient, dimensions, fiber content, techniques, pattern, title, contact info of maker…

Write out the label.

Choose an archival, permanent, fadeproof pen versus a pen meant for general office use. Press the label again with your iron after the ink goes on to add an extra heat setting.

Peel off the freezer paper.

Gently pull off the freezer paper and you’re ready to sew on the label.

Sew on the label.

The best way to attach the label is to sew it on using cotton thread. If you are labeling a new quilt, you may consider attaching the label before you do the quilting–giving it added staying power.

You did it!

Time to completion: around 30 minutes and that includes time to shoo the cat off the quilt (three times). Everyone loves a soft, well-documented quilt. Now its history won’t fade away!…